iManage
Last Revised: July 14th, 2025
iManage Cloud integration with Diffchecker
Diffchecker allows you to seamlessly integrate iManage Cloud into your workflow. This step-by-step guide covers the complete setup process, including configuring the integration within the iManage Control Center and setting up Diffchecker to authenticate with your iManage account.
Please note: This guide is written for administrator-level users.
Configuring iManage Cloud
To integrate Diffchecker with iManage, please complete the following steps in the iManage Control Center.
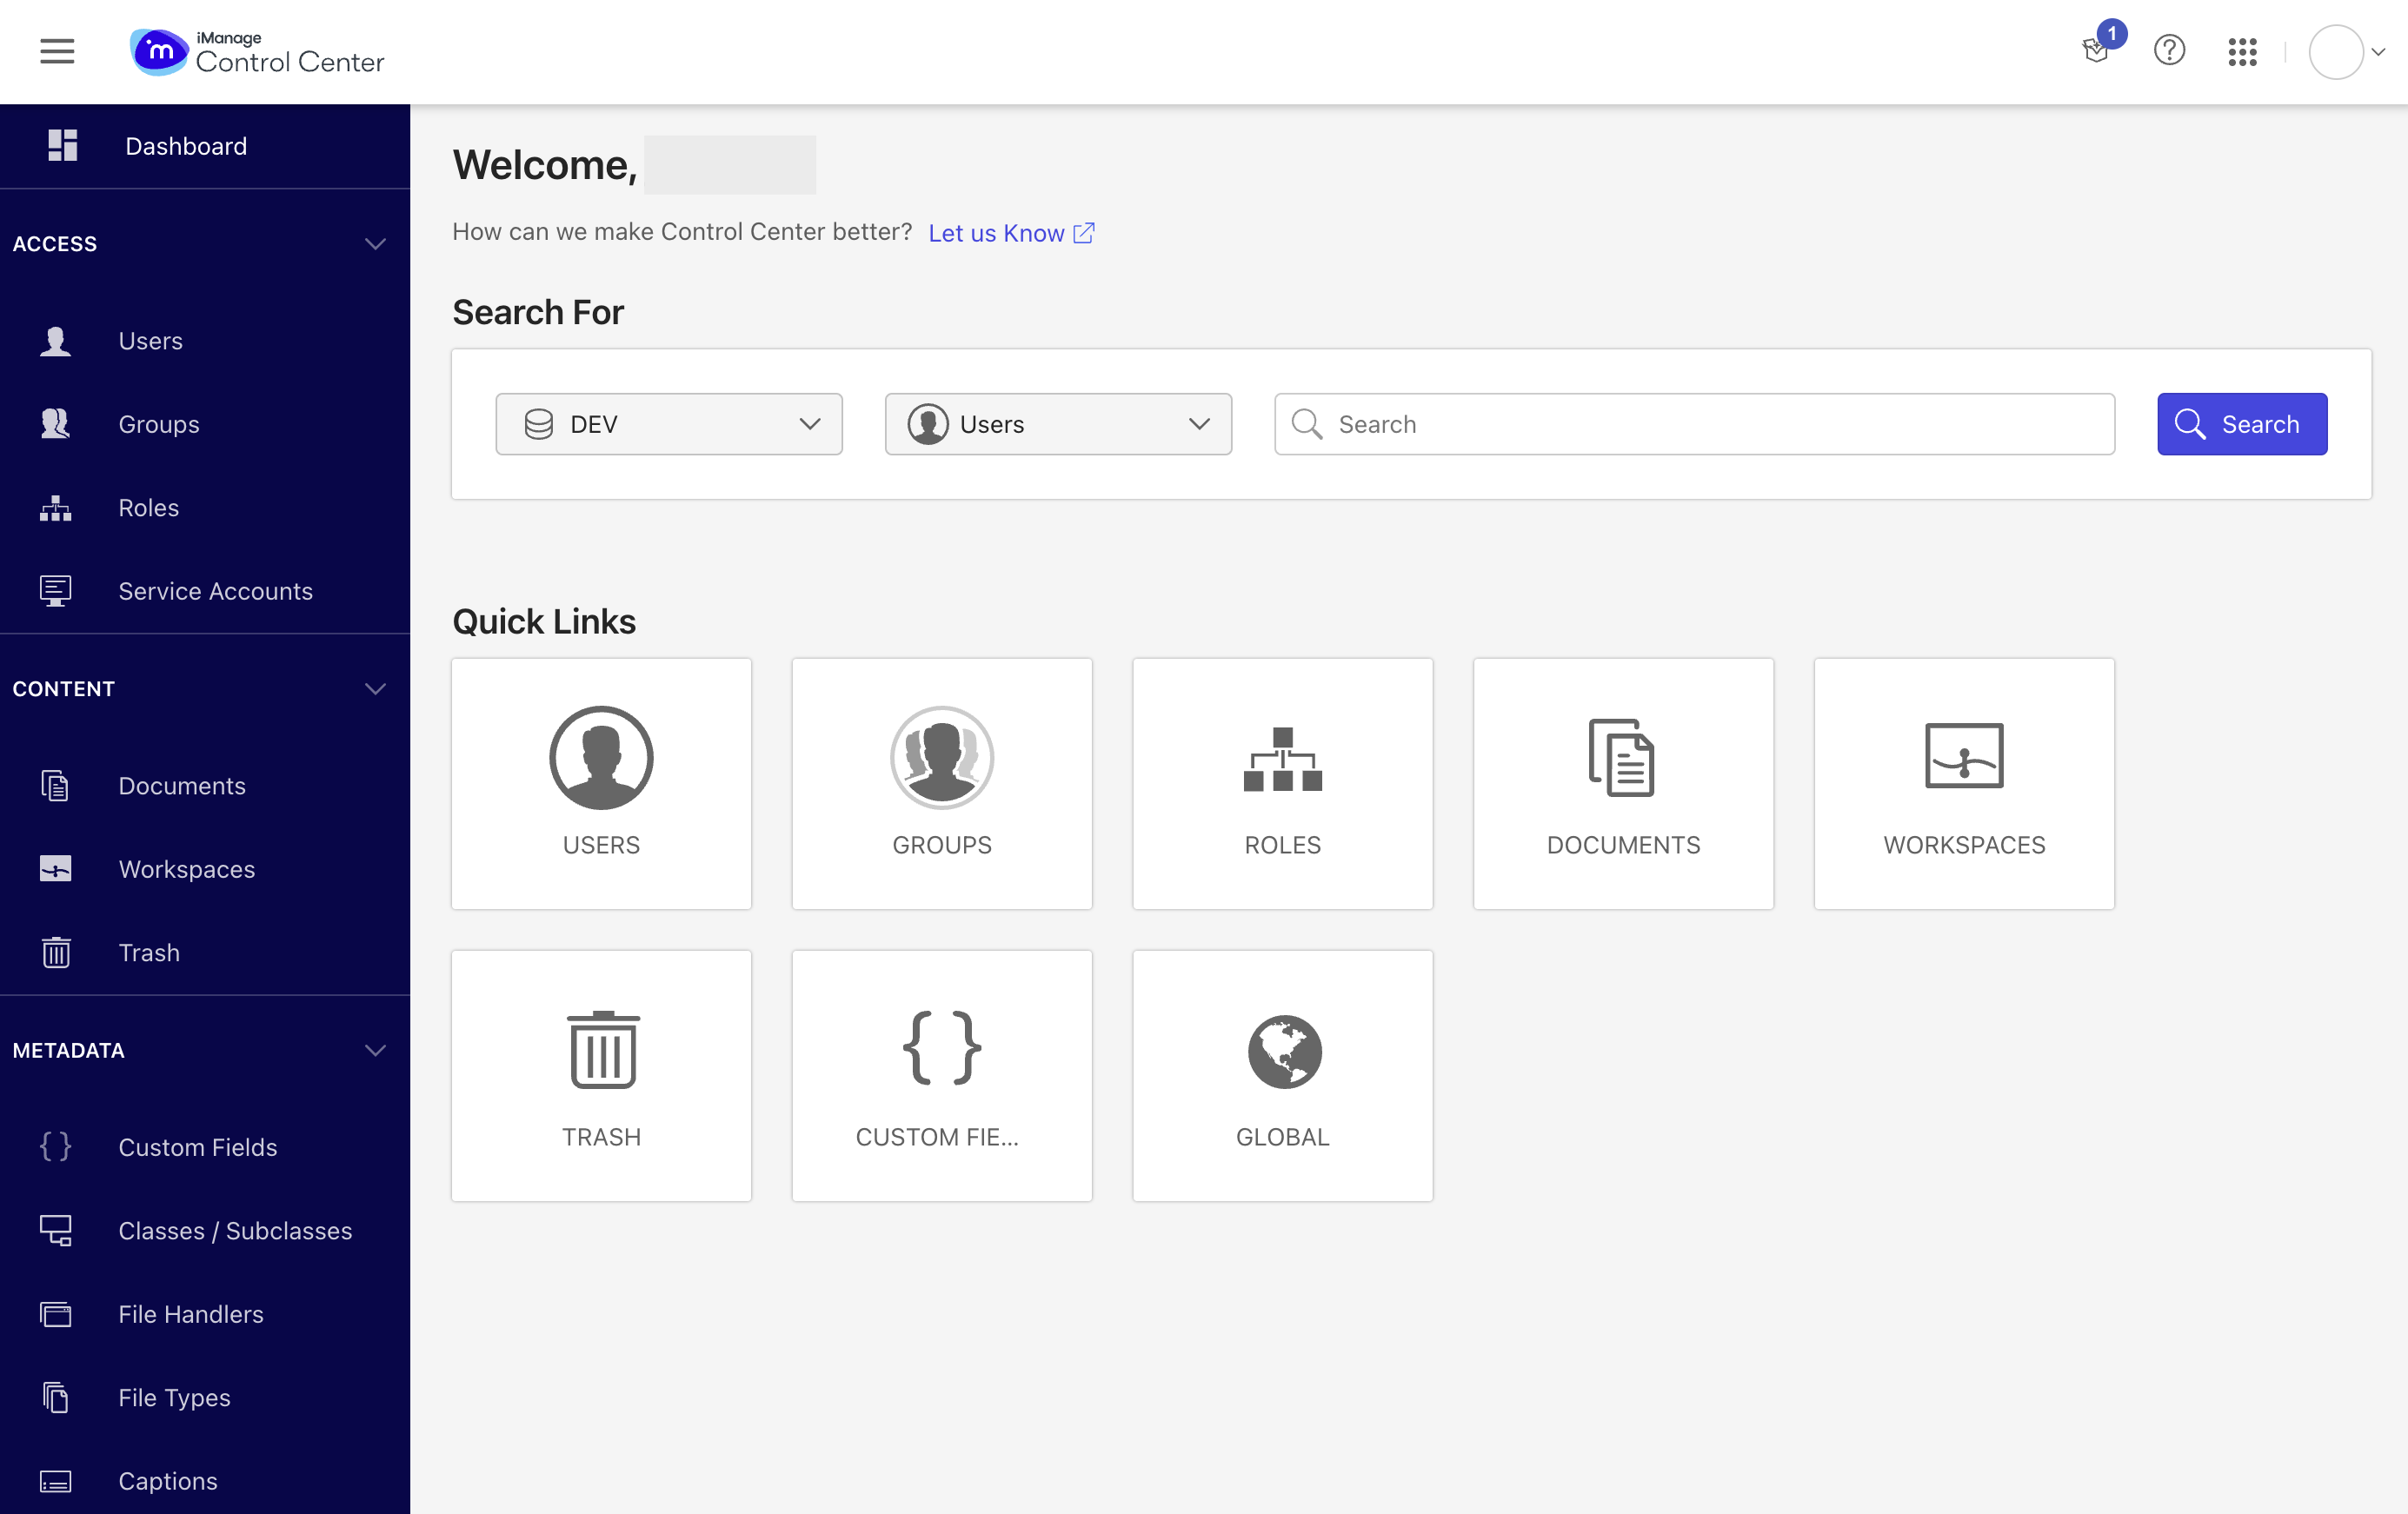
- Login into iManage and navigate to the Control Center.
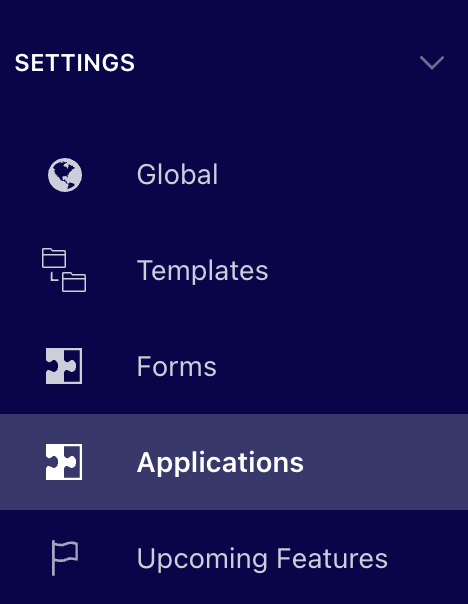
- On the left-hand menu, scroll down to Settings and select Applications.
- On the top right-hand side, select Add Application.
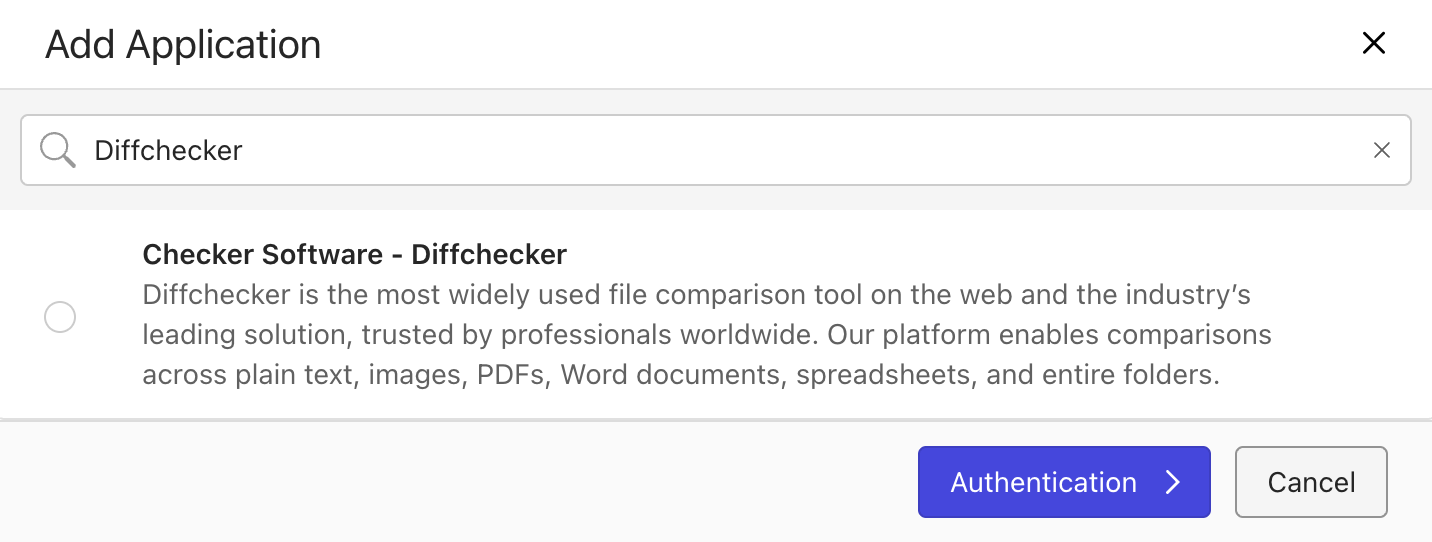
- Search for Diffchecker, select the Diffchecker - Diffchecker Legal option, and then select Authentication.
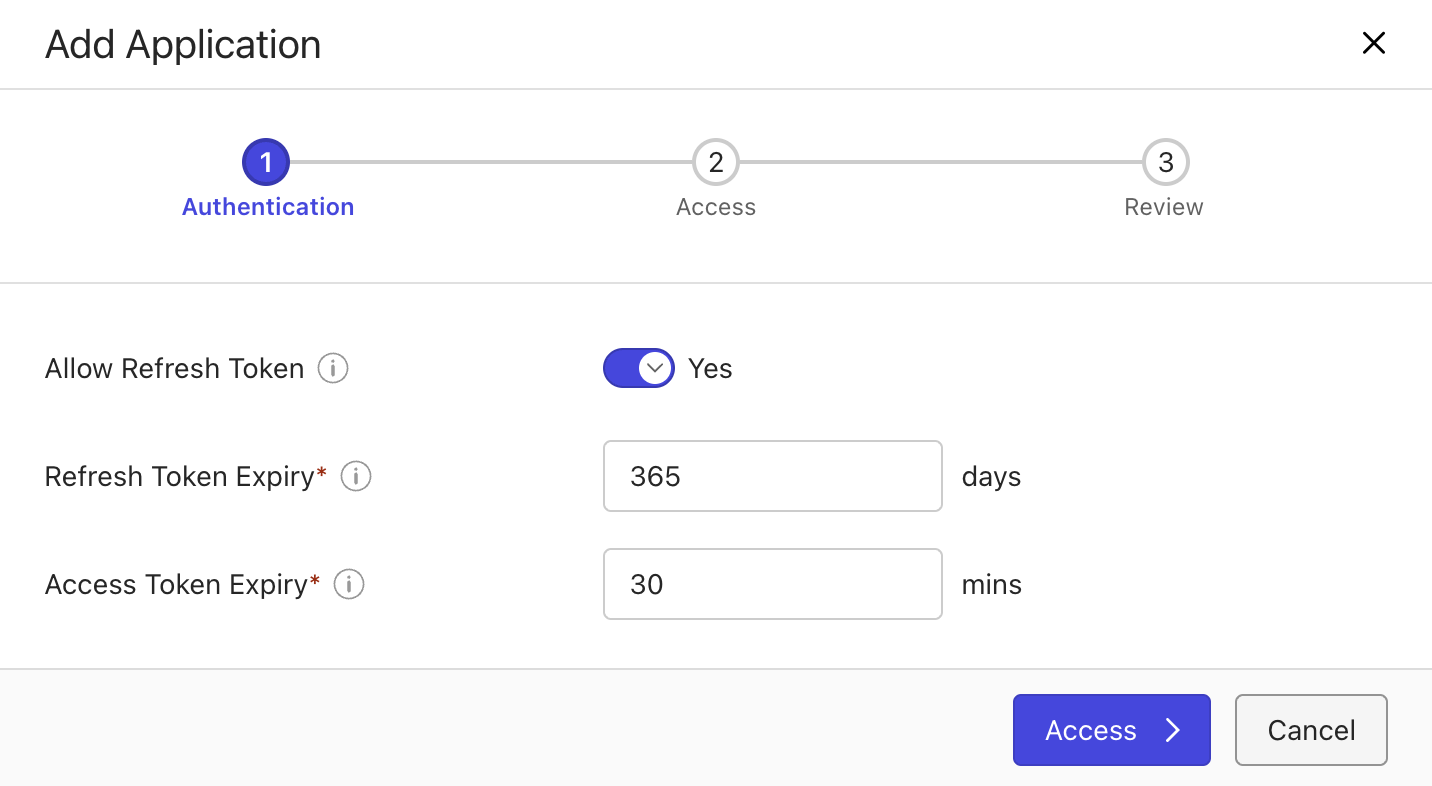
- In the authentication section, configure your application settings. After configuring these settings, select Access.
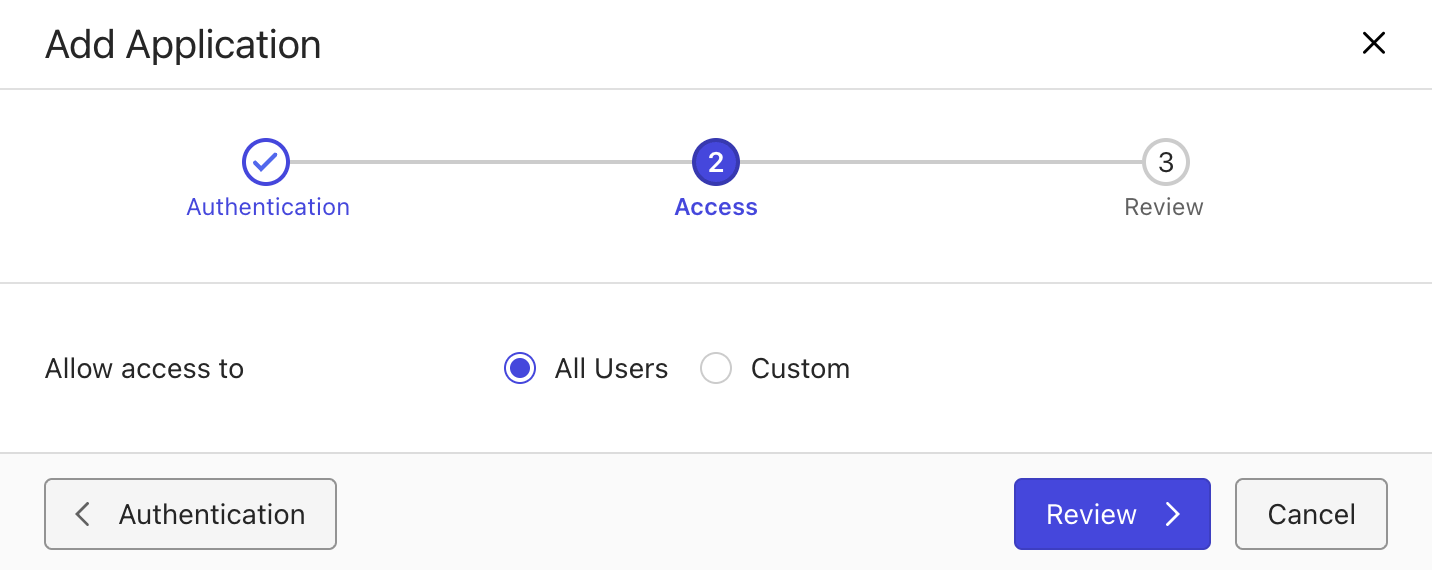
- In the access section, ensure that Allow access to is set to All Users. Then select Review.
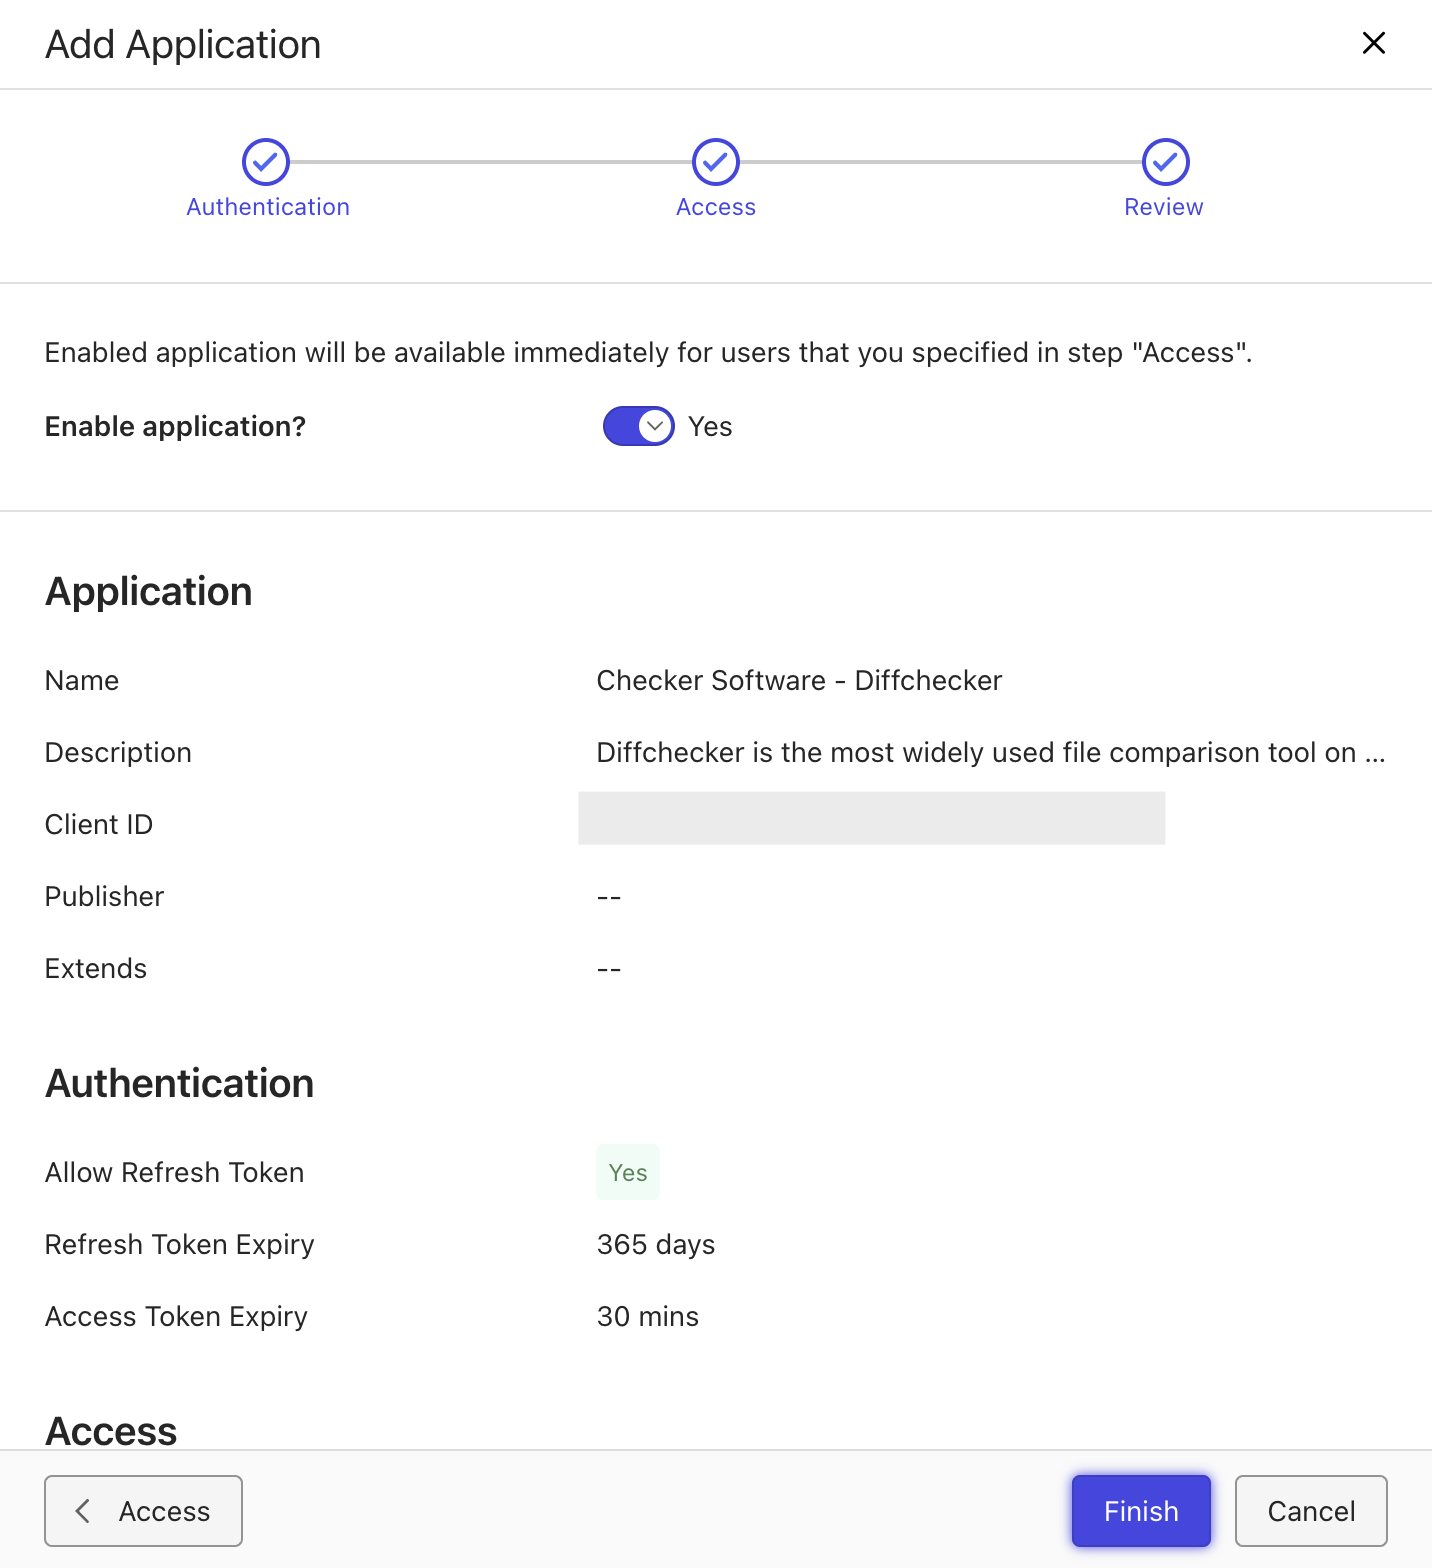
- In the review section, ensure that the information is correct, and then select Finish.

This now completes the iManage Cloud setup portion of the integration.
Configuring Diffchecker
Now, you are able to connect Diffchecker Desktop to your cloud iManage account. This can be done following the steps below:
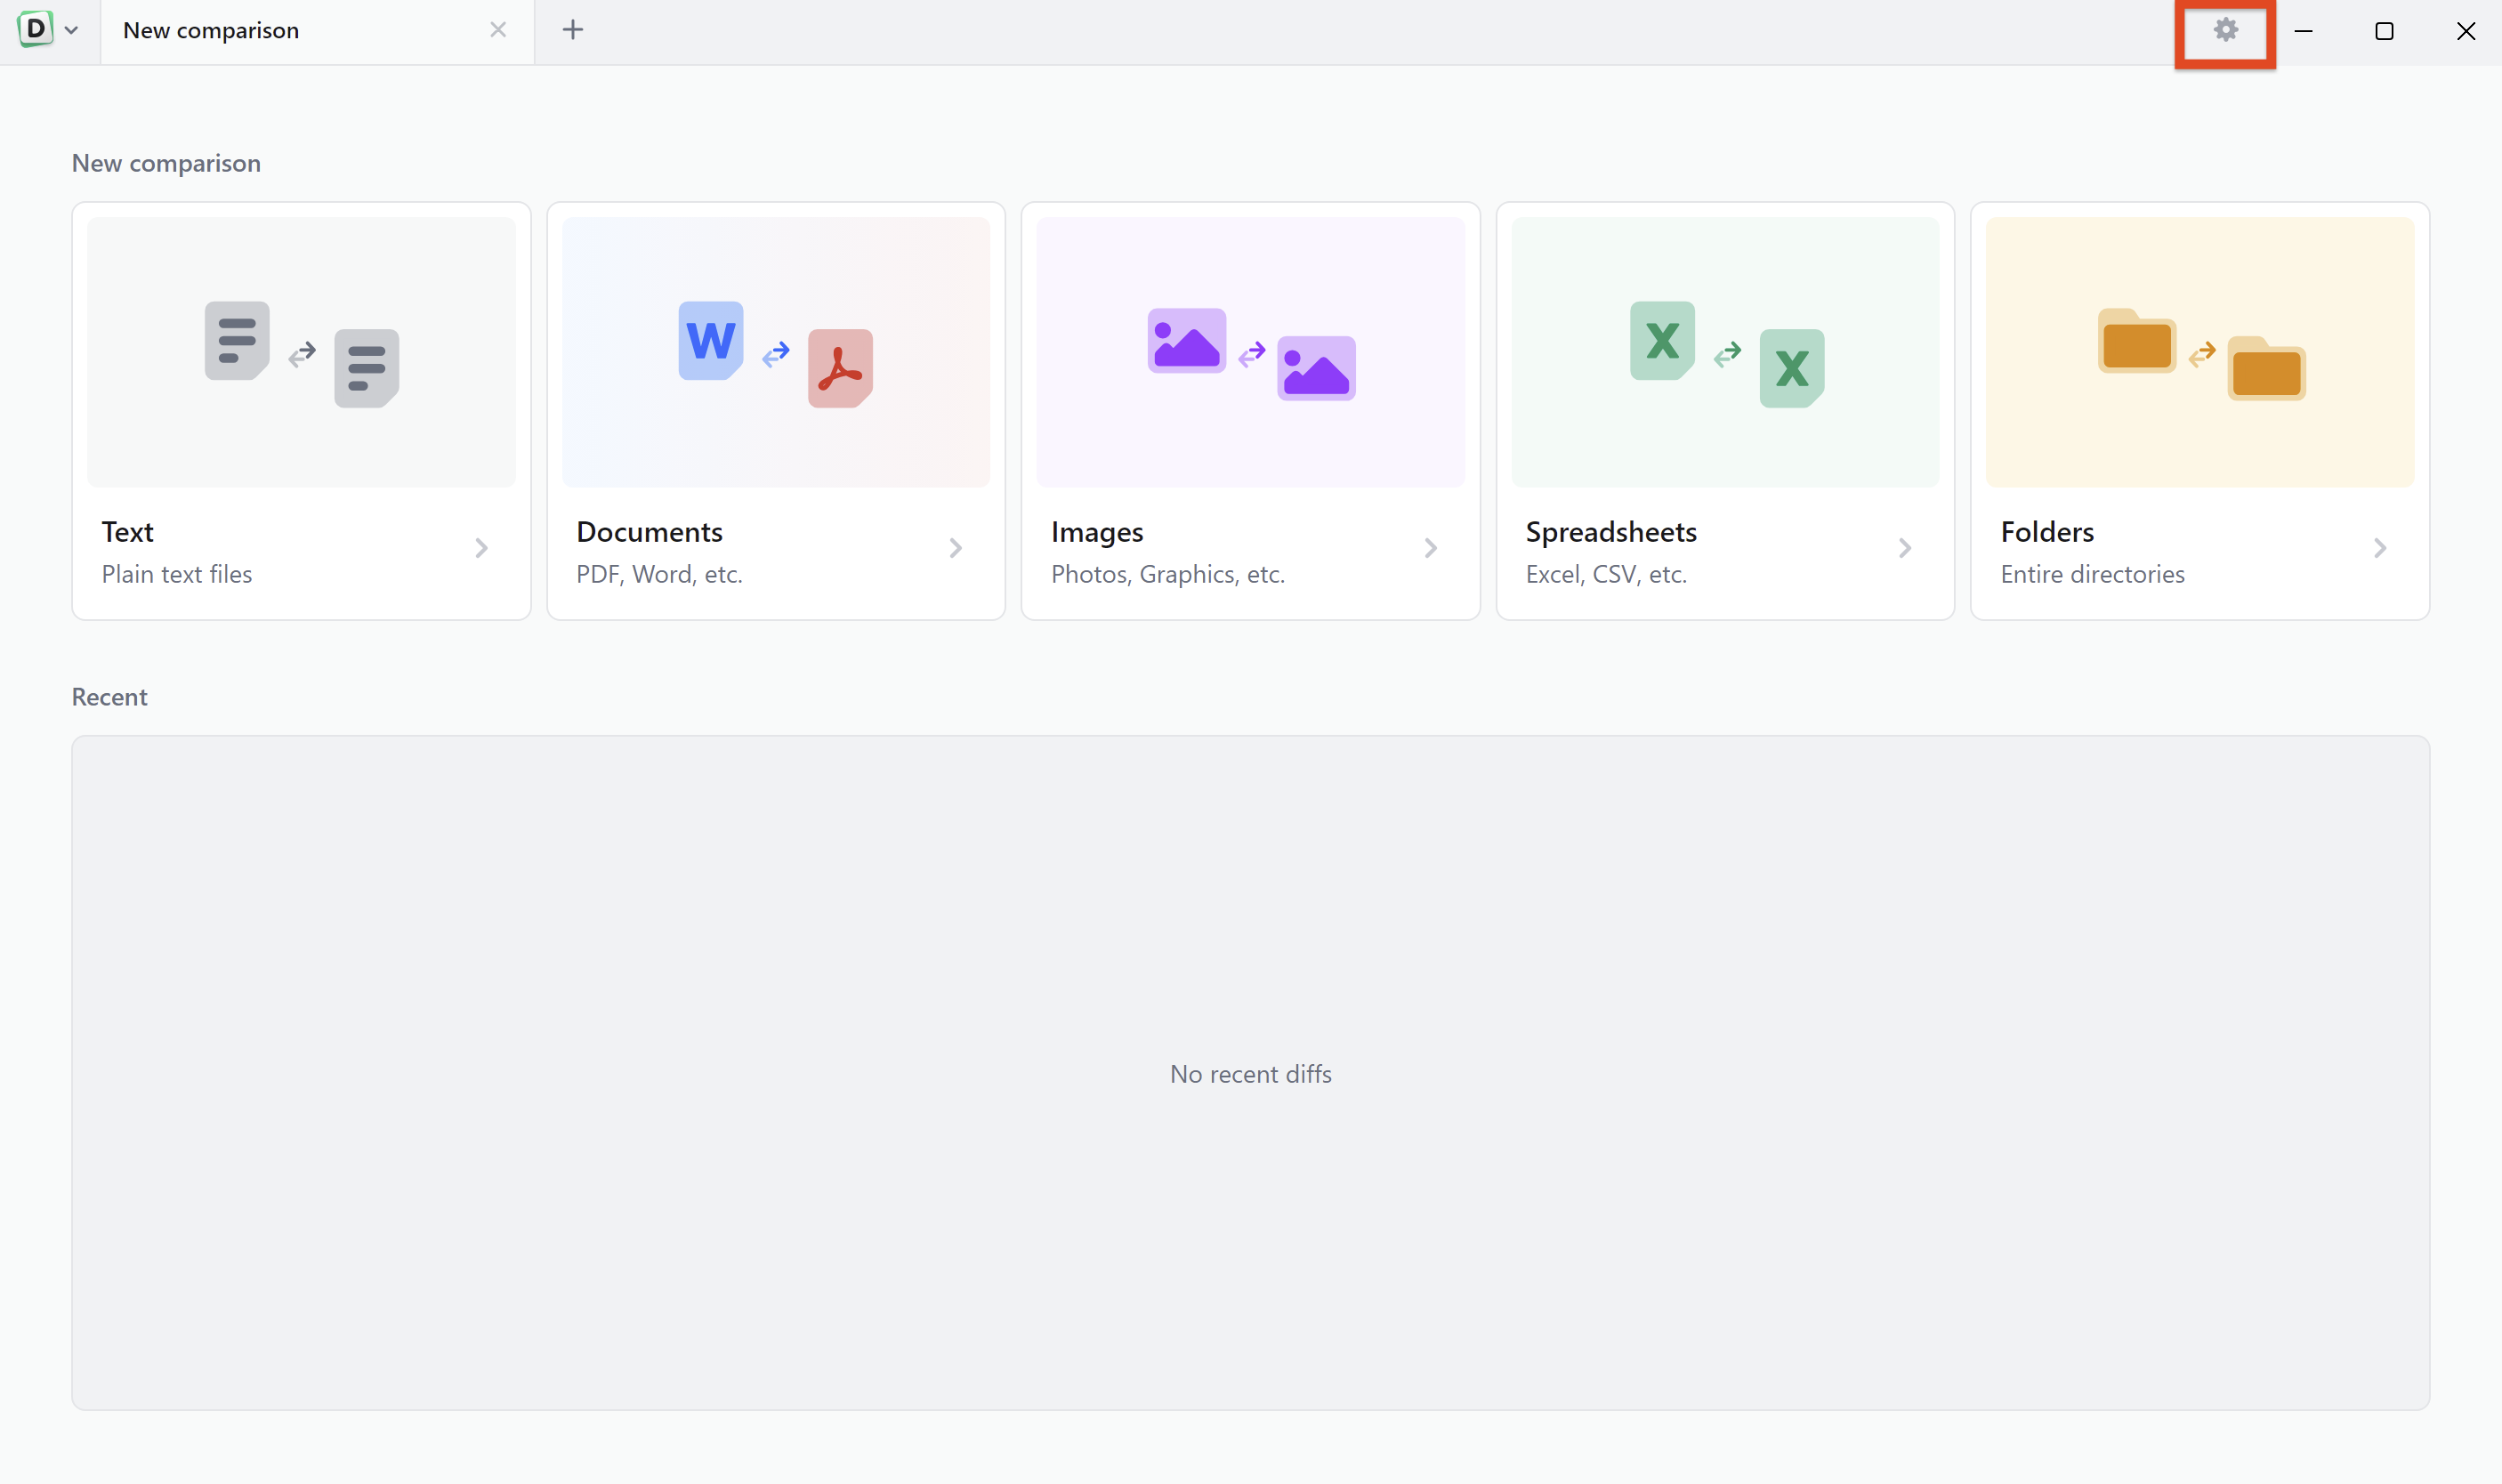
- Select the Preferences menu and navigate to the Integrations section.
- First, enable iManage integrations by enabling the switch. Then, select Sign in, and enter your credentials for your iManage account. You should see Connected as [Your Account Details].

This completes the integration setup between Diffchecker and iManage Cloud.